How Do I Set Up Pre-Authorized Payments at a Canadian Bank?
Moving to a new country like Canada is a whirlwind, isn't it? You’re trying to navigate a new city, maybe a new job, and suddenly you’re bombarded with a whole new set of bills and financial systems. The last thing you want is to miss a payment and incur nasty late fees or, worse, damage your nascent Canadian credit score. This guide is all about simplifying that process by showing you exactly how to set up pre-authorized payments at a Canadian bank, helping you keep your finances on track with minimal stress.
Understanding Pre-Authorized Payments (PAPs) in Canada
When you first arrive, the sheer volume of new information can be overwhelming. From understanding how the Canadian banking system works to figuring out your tax obligations, there's a lot on your plate. Pre-authorized payments (PAPs) are one of those little administrative hacks that, once set up, can truly simplify your life and give you much-needed peace of mind.
What Exactly Are PAPs and Why They're a Lifesaver for Newcomers
So, what exactly are these "pre-authorized payments" or "PAPs" that everyone talks about? Simply put, a pre-authorized payment is an agreement you make with a company or service provider to automatically withdraw funds from your bank account on a scheduled basis to pay for a service or bill. Think of it as giving permission for your bills to pay themselves. For newcomers, this system is an absolute lifesaver. When you’re still getting used to things like different billing cycles, Canadian payment methods, and just generally trying to remember what day it is, having your essential bills handled automatically takes a massive weight off your shoulders.
Imagine this scenario: you've just started a new job, you're still exploring your neighbourhood, and your landlord sends an email about rent being due. Or perhaps you get a surprisingly high utility bill. With PAPs, you wouldn't need to manually log in, remember a password, or scramble to make a payment before the deadline. The money is simply withdrawn from your designated bank account on the due date. This automation means you avoid late payment penalties, which can be surprisingly hefty, and you're much less likely to inadvertently ding your credit score – something crucial to build early on in Canada. It's a proactive step towards financial stability in your new home, reducing the mental load of managing multiple deadlines.
Common Bills You Can Set Up for PAPs
Almost any recurring bill you have in Canada can be set up for pre-authorized payments, which is fantastic news for streamlining your financial life. Let's look at some of the most common ones you'll encounter as a newcomer.
Your monthly rent or mortgage payment is often the biggest chunk of your expenses. Most landlords or property management companies, especially in larger cities like Toronto or Vancouver, will ask you to set up a direct debit. This means they will pull the rent directly from your account on the first of the month. Similarly, if you're taking the big leap to buy a home, your mortgage payments will almost certainly be set up as PAPs. Then there are the utilities. Companies like Hydro One (Ontario), BC Hydro (British Columbia), Enbridge Gas (Ontario), FortisBC (British Columbia), or Hydro Québec will happily set up PAPs for your electricity and natural gas bills. The same goes for your internet and mobile phone providers, whether you've chosen a big player like Rogers, Bell, Telus, or a smaller, more regional carrier.
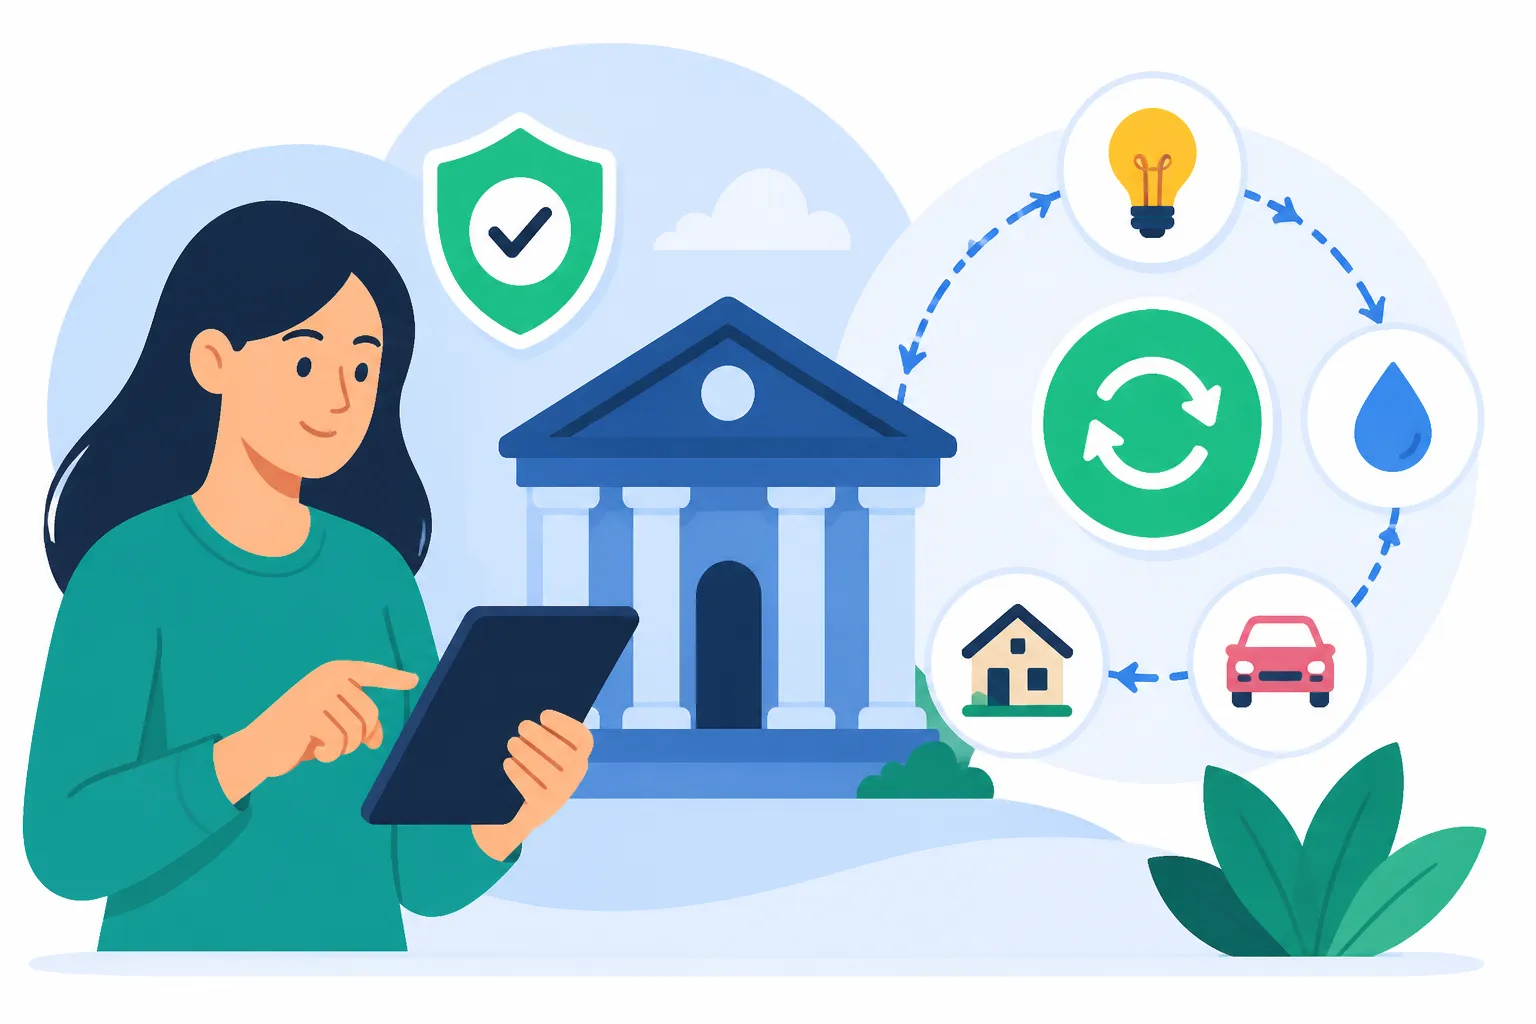
Beyond these essentials, you can also automate payments for your car insurance, life insurance, personal loan repayments, credit card statements (setting up the minimum payment or the full balance), and even some government services or subscription boxes. For instance, if you're setting up your Internet and cable in Canada, the provider will almost certainly offer an option to set up PAPs during the initial registration process. This flexibility allows you to consolidate almost all your regular expenses into an automatic system, simplifying your monthly financial checklist significantly. It's truly about setting it and forgetting it, letting you focus on other aspects of settling into your new Canadian life.
Step-by-Step Guide to Setting Up Pre-Authorized Payments
The process of setting up pre-authorized payments might seem a bit daunting when you're new to the Canadian financial landscape, but I promise it's quite straightforward once you know what you need. Think of it as a small investment of your time now that will save you headaches down the line.
Gathering Your Essentials: What You'll Need
Before you dive into authorizing payments, you’ll need a few key pieces of information and documents. This is where the Canadian banking system has its own quirks, but don’t worry, it’s easy to get the hang of. Firstly, you absolutely need an open bank account in Canada. If you're still on the fence about which bank to choose, you might want to read our guide on how to choose the best bank for newcomers in Canada. Once your account is set up, you'll need its details: the Institution Number, the Transit Number (sometimes called a branch number), and your specific Account Number. These three numbers uniquely identify your bank and your account within it. You can usually find these on your bank's online banking portal, on a physical cheque (if you order them), or by asking a teller at your branch.
Often, service providers will also ask for a void cheque or a direct deposit form. A void cheque is simply one of your cheques with "VOID" written largely across it, which confirms your account details without allowing anyone to cash it. If you don't have cheques, most Canadian banks can provide a direct deposit/payment form that contains all the necessary banking information. You can often download this directly from your online banking portal or request it from a branch. Lastly, you'll need your account number with the biller (e.g., your utility account number, your landlord’s tenant ID, your mobile phone number, etc.). Having all this information ready will make the setup process smooth and efficient, preventing you from having to hunt for details mid-application.
The Different Ways to Authorize Your Payments
Once you have your essentials in hand, you'll find that most Canadian service providers offer a few different ways to get your PAPs authorized. The method often depends on the type of bill and the company you’re dealing with.
The most common and often easiest way is through the provider’s online portal. For instance, when you set up your account with your internet provider like Bell, or your electricity provider like Hydro One, you'll typically log into their website, go to the "Billing" or "Payment" section, and there will be an option to "Set up Pre-Authorized Payments" or "Direct Debit." You'll input your bank's institution number, transit number, and your account number directly into their secure system. Many newcomers find this the most convenient method for managing bills like your phone plan or understanding heating, gas, and utility bills in Canada. Another prevalent method involves filling out a physical or digital form. This is particularly common for rent payments, insurance policies, or loan repayments. Your landlord might give you a paper form to fill out, asking for your banking details and a void cheque. You’d then return this form to them. For insurance, you might fill out an online PDF, sign it digitally, and email it back, or print it and mail it in.
Finally, you can often set up PAPs by calling the service provider directly. Their customer service team can guide you through the process over the phone, though you should still have your banking details and account number handy. Sometimes, especially with credit cards, you might even set up a PAP through your own bank's online banking portal for payments to other institutions. For example, if you have an RBC or TD account, you can often schedule recurring bill payments to your credit card from another bank. While the end result is the same—automatic payment—the method can vary, so it's always best to check the specific instructions from each biller.
Confirming and Tracking Your Payments
Setting up pre-authorized payments is just the first step; confirming they're active and then tracking them is equally important. You don't want to assume everything is working perfectly only to discover a missed payment later!
The best way to confirm that your PAPs have been successfully set up is to check your first bill after authorization. The bill should clearly state that the amount will be withdrawn automatically on or around the due date. Sometimes, the provider will send you a confirmation email or letter after you've set up the payment. If you don't see any confirmation after a billing cycle, don't hesitate to contact the service provider directly to double-check. It's far better to ask than to incur a late fee. Once confirmed, it's crucial to monitor your bank statements regularly. I can't stress this enough. Even though the payments are automated, you still need to verify that the correct amount is being withdrawn and that there are no unauthorized transactions. This is a good habit to get into for all your finances, particularly as a newcomer building your financial literacy in Canada.
Many Canadian banks offer excellent online and mobile banking platforms that allow you to view your transactions in real-time. You can often see pending pre-authorized withdrawals a few days before they happen. Make a habit of logging in once or twice a month to reconcile your accounts. This helps you keep track of your spending, ensures you have sufficient funds for upcoming withdrawals, and lets you spot any discrepancies immediately. For those who transfer money into Canada regularly, perhaps using services like Wise, it’s particularly important to ensure those funds arrive in time to cover your upcoming PAPs. Staying on top of your statements is your best defence against financial surprises and helps you maintain robust financial health.
Navigating the Nuances: Tips and Potential Pitfalls
While pre-authorized payments are incredibly convenient, like anything in life, they come with a few nuances and potential pitfalls you should be aware of. Being prepared for these scenarios will save you a lot of grief.
When Things Go Sideways: Dealing with Changes and Insufficient Funds
Life in Canada is dynamic, and sometimes your financial setup changes. What happens if you switch banks, or your account number changes due to a lost card or security breach? You absolutely must notify all your service providers of the new banking details. Don't assume they'll magically know. This is a manual process, and failing to update your information will lead to missed payments and fees. Similarly, if you switch providers (e.g., changing internet companies), make sure to cancel the old PAP with your previous provider and set up a new one with the new company. Always get confirmation that the old payment has been cancelled.
A more common issue for newcomers, especially when adjusting to a new budget or waiting for international funds, is having insufficient funds (NSF) in your account when a PAP attempts to withdraw. This is a double whammy: your bank will charge you an NSF fee (which can range from $40-$50 per instance), and the biller might also charge you a missed payment fee. It can quickly add up! If you anticipate having insufficient funds, contact the service provider before the payment date to make alternative arrangements or request a deferral. You can also sometimes cancel a single upcoming PAP through your bank's online banking if it's done within a certain timeframe before the scheduled withdrawal. Being proactive is key here.
Security and Control: Protecting Yourself
While PAPs offer immense convenience, it's crucial to approach them with a mindful eye on security and maintaining control over your finances. You are, after all, granting permission for money to be taken from your account.
First and foremost, only authorize pre-authorized payments with trusted, legitimate service providers. Be wary of giving your banking details to unknown entities, especially if they solicit you unexpectedly. Always verify the legitimacy of the company. A good practice is to initiate the setup yourself through their official website or by calling their verified customer service number, rather than responding to unsolicited requests. Secondly, as mentioned before, make a habit of regularly reviewing your bank statements. This isn't just about ensuring you have enough funds; it's also your primary defence against any unauthorized or erroneous withdrawals. If you spot anything suspicious, contact your bank immediately. They can help investigate and, if necessary, reverse fraudulent transactions.
Many Canadian banks offer features within their online banking platforms that allow you to view, and sometimes even manage or temporarily block, your active pre-authorized payments. This gives you an added layer of control. Knowing you can quickly see which companies are authorized to debit your account provides significant peace of mind. Keeping these practices in mind will help ensure your automated payment system remains a convenience, not a liability.
International Money Transfers and Bill Pay
For many expats and newcomers, managing finances in Canada also involves juggling international money transfers. Perhaps your income comes from abroad, or you're sending money home, and ensuring funds are readily available for your Canadian bills is a critical concern.
This is where services like Wise really shine. If you're receiving funds from overseas to cover your Canadian expenses, using an efficient, low-fee international money transfer service like Wise can help ensure that the money lands in your Canadian bank account promptly and without excessive exchange rate losses. Having these funds settled in your account well before your pre-authorized payments are due is paramount to avoid those pesky NSF fees we just discussed. Planning your transfers strategically, perhaps scheduling them for a few days before your major bills hit, will help maintain a smooth financial flow. When you're dealing with different currencies and conversion rates, knowing that your funds are reliably in place for your Canadian bills is invaluable.
Furthermore, consider other financial obligations that might also require payments, such as professional fees for tax advice. Companies like Taxes for Expats specialize in helping individuals navigate complex cross-border tax situations. While you might not set up a direct PAP for a one-off consultation, understanding your overall financial landscape, including how you pay for such services, is part of robust financial planning. Effectively managing your incoming funds ensures all your automated payments, whether for utilities or other financial services, are always covered, making your life in Canada much less stressful.
Provincial Variations and Important Considerations
While the core concept of pre-authorized payments is consistent across Canada, some names and minor processes can vary by province. It's helpful to be aware of these regional differences as you settle in.
Understanding Different Provincial Utility Providers
Canada is a vast country, and while the major banks operate nationwide, utility providers are typically provincial or municipal. This means that the specific names of the companies you'll be setting up PAPs with will differ depending on where you choose to live.
For instance, if you're settling in Ontario, your electricity might come from Hydro One or a municipal utility like Toronto Hydro, and natural gas from Enbridge Gas. Head over to British Columbia, and you'll be dealing with BC Hydro for electricity and likely FortisBC for gas. In Quebec, it’s Hydro-Québec for electricity, and Énergir for natural gas. Alberta has a deregulated market with various retailers like Encor by EPCOR or Direct Energy. While the names change, the process of setting up pre-authorized payments remains largely the same: you provide your banking details (institution, transit, account number) to the specific utility company you’re dealing with. It’s worth checking your initial utility bills to identify your exact provider and then navigate to their official website to set up your automatic payments. This local variation is just another small detail to absorb as you build your life here, but rest assured, the fundamental steps on how to apply for OHIP, MSP, RAMQ or AHCIP when you arrive in Canada, or indeed, set up your utilities, follow a similar logic.
Rent and Mortgage Payments: Specifics
Rent and mortgage payments are typically the largest recurring expenses for most Canadians, and their pre-authorized payment methods have some specific nuances.
For rent payments, it's very common for landlords or property management companies to request a direct debit authorization form. This form explicitly grants them permission to withdraw your rent directly from your bank account on the agreed-upon date, usually the first of each month. They might ask for a void cheque to verify your banking details. Always read your lease agreement carefully to understand the exact terms of payment and any penalties for late or missed payments. Some smaller landlords might prefer e-Transfers, but for larger property management firms, PAPs are standard. When it comes to mortgage payments, these are almost universally handled through pre-authorized debits. Your mortgage lender will set this up as part of your mortgage agreement, usually with weekly, bi-weekly, or monthly withdrawals. This is highly efficient and ensures you never miss a payment, which is crucial for maintaining good standing with your lender and preserving your credit rating. If you're buying a home in Canada, understanding how these recurring payments work will be a core part of your financial planning. Whether it's rent or a mortgage, automating these significant payments ensures stability and predictability in your monthly budget.
Here's a quick overview of common PAP types and how they're typically set up:
| Payment Type | Common Setup Method | Required Information | Typical Frequency |
|---|---|---|---|
| Rent / Mortgage | Direct Debit Authorization Form (paper/digital) | Bank Account Details, Biller Account Number (if applicable) | Monthly / Bi-weekly |
| Electricity / Gas | Online Portal, Phone Call, Sometimes Form | Bank Account Details, Utility Account Number | Monthly |
| Internet / Mobile Phone | Online Portal, Phone Call | Bank Account Details, Phone/Account Number | Monthly |
| Insurance (Car, Home) | Online Portal, Phone Call, Authorization Form | Bank Account Details, Policy Number | Monthly / Annually |
| Credit Card Bills | Bank's Online Bill Pay, Credit Card Portal | Bank Account Details, Credit Card Number | Monthly |
| Loan Payments | Lender's Authorization Form, Online Portal | Bank Account Details, Loan Account Number | Monthly |
This table should give you a clearer picture of what to expect when automating your Canadian bills. Remember, the goal is to make your financial life simpler so you can focus on enjoying your new home and all that Canada has to offer.
Disclaimer
Please note that the information provided in this guide is for general informational purposes only and does not constitute financial, legal, or professional advice. While we strive to keep the information accurate and up-to-date, processes and regulations can change. Always consult with a qualified professional for advice tailored to your specific situation and refer to official government and financial institution websites for the most current information.